
This post has been compensated by Collective Bias, Inc. and its advertiser. All opinions are mine alone. #RethinkColour #CollectiveBias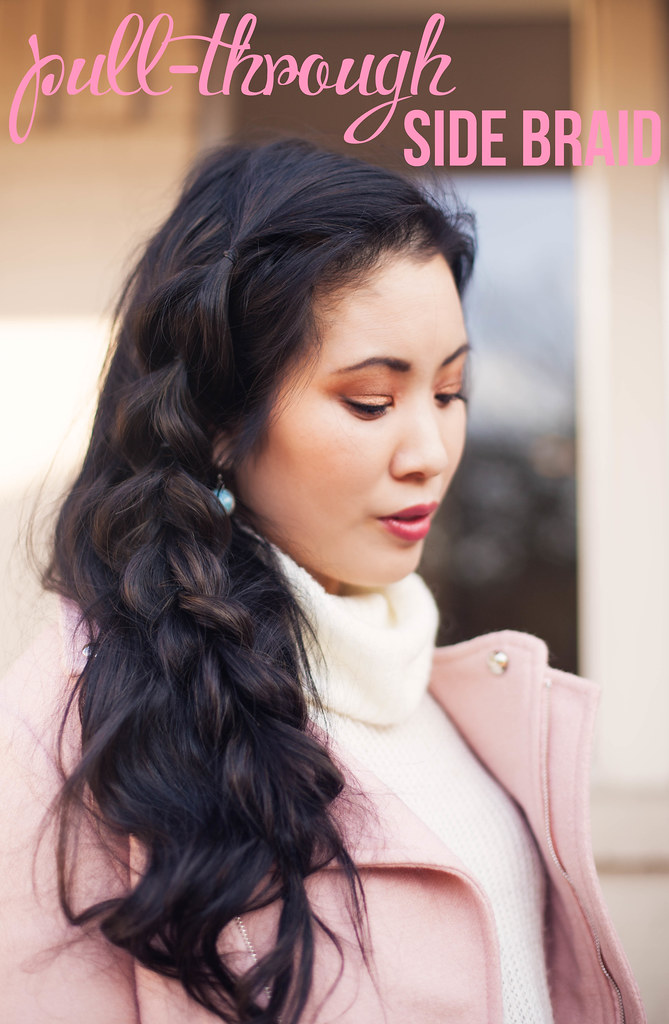
I’ve always been pretty basic when it comes to hair. My hair is naturally dark black, and I usually defer to just styling my hair in loose curls whenever I have anywhere to go. With the start of the new year, I decided I wanted a change! Not only did I want to lighten up my hair for spring, but I wanted to finally figure out how to create a braided hairstyle on myself — if you’re like me, I never have a problem braiding other people’s hair but somehow my fingers always get tangled whenever I’m working on myself! So today, I’m sharing a pull-through side braid tutorial with you my friends!Let’s get started with the braid — this look couldn’t be easier and it’s finally fulfilling all my braided hairstyle dreams!
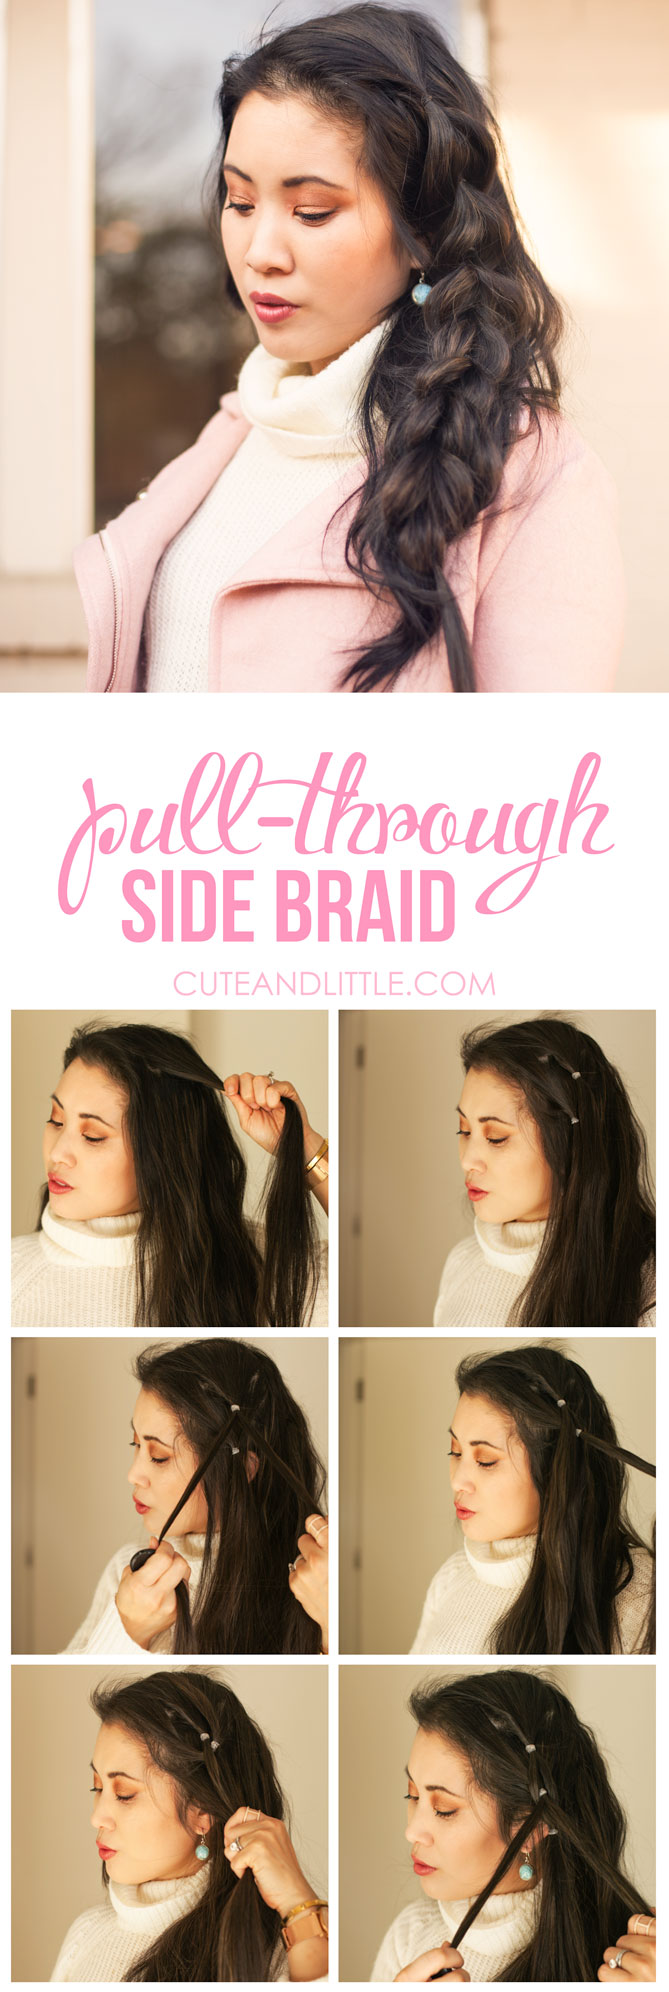
Can you believe this style doesn’t involve any actual braiding? Just grab yourself a few small elastics (I recommend 8-10), a hair clip, and you’re ready to go! (I’m using clear elastics above to help show each step. Ideally, you should choose elastics to match your hair color!)
- Section off about 2″ of hair where you want the braid to start. You’ll want a decent chunk of hair as this will be the first pouf that will be created. Secure with elastic.
- Secure another 2″ section of hair directly below the first.
- Take the first secured section and split the hair into two.
- Take the second section and pull it up in between the top section that was split. Clip it off to the side.
- Take the split hair and add additional hair from each side. Secure in place with another elastic.
- Release the previously clipped hair and this section now becomes the top section that is then split apart while the bottom secured section is pulled up in between and clipped off to the side.
- Continue adding hair to each section of hair that is tied until you reach the nape of your neck. At this point just continue the same process but don’t add any more hair.
- Once you reach the bottom of your hair, secure it with an elastic.
- Now to “puff up” the braid. I prefer working from the bottom up and gently pull each section out so that it has more volume. As each section is pulled out, the hair should also now cover up the majority of the elastic too! Continue working up to the top of the braid and even out each section as you go.
- That’s it!
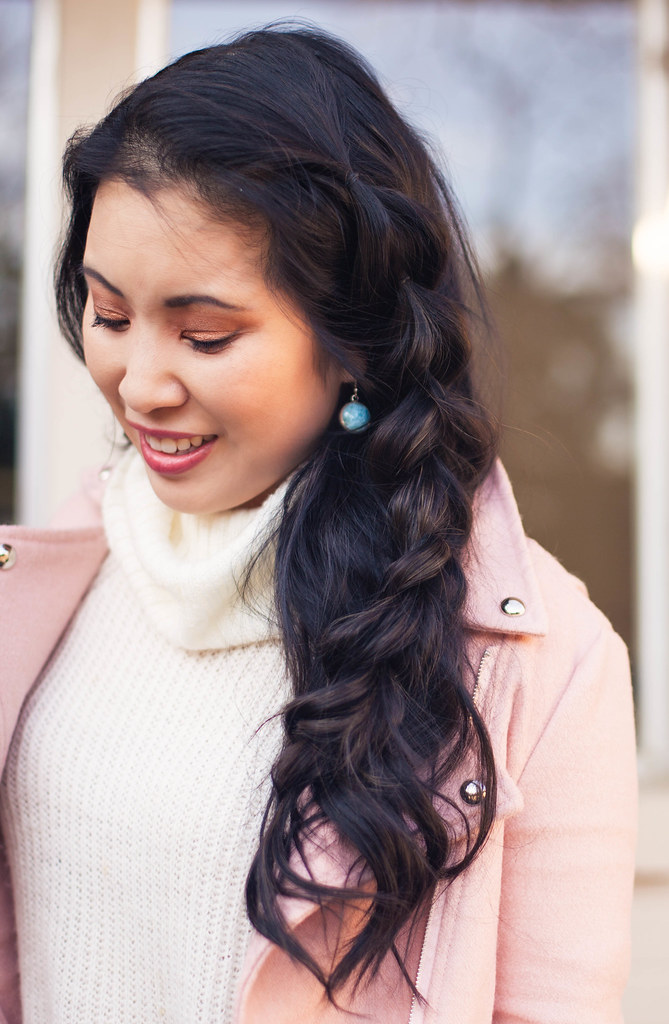
As someone who has never been able to get that puffy side french braid look, I’m so happy to have this pull-through braid as an option. I’m already thinking up all the different ways I can wear this pull-through style… 😉
Earrings: Official Larimar Shop, Jacket: Choies | Turtleneck: Express
And can you see those subtle brunette highlights in my hair above? Would you believe that those are all a result of a new shampoo and conditioner?

Brilliant Brunette® Visibly Brighter™ Subtle Lightening Shampoo/Conditioner
Brilliant Brunette® Visibly Brighter™ In-Shower Treatment
I came across the new John Frieda Visibly Brilliant Brunette haircare line and was instantly sold on the fact that I could lighten up my hair in the shower as part of my normal hair washing routine. I didn’t want anything drastic, and, as a mom, I need something that’s low maintenance so that it can keep up with my busy lifestyle. While the difference is subtle, I noticed an immediate difference in the color and tone of my hair! I couldn’t believe the glossy shine and I couldn’t stop touching my hair as it was so soft. I wanted more warm brown tones in my hair and couldn’t believe that just after a couple uses, I had exactly what I wanted! I love the added dimension my hair has now and am still in awe of just how easy it all was! My hair feels healthy and I’m so glad I didn’t have to damage my hair coloring it the traditional way. I’ve only used the Brilliant Brunette® Visibly Brighter™ Subtle Lightening Shampoo and Conditioner at this point, but am considering using the Brilliant Brunette® Visibly Brighter™ In-Shower Treatment once summer is closer to really go a few shades lighter!
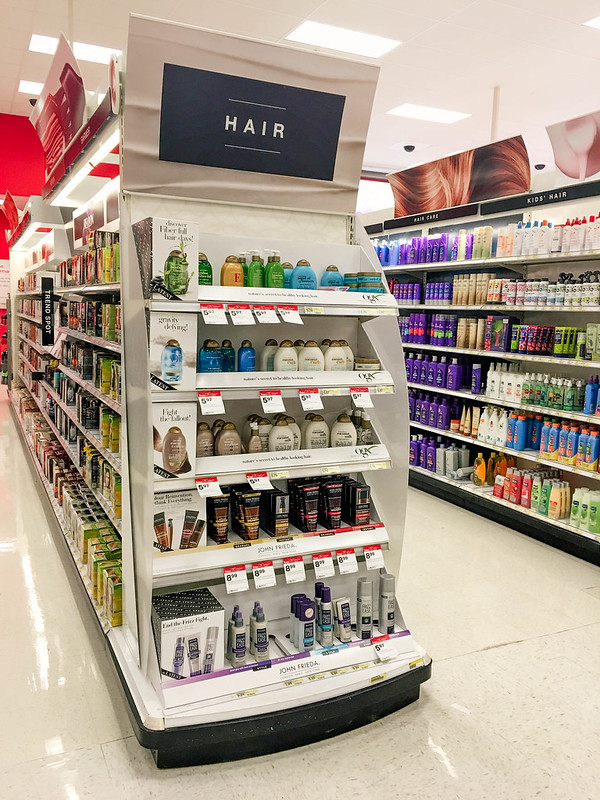
I used the Visibly Brighter products from Brilliant Brunette line but there is also a Visibly Deeper set for those who want to go dark. And if you’re blonde, there’s also a Sheer Blonde line with Go Blonder shampoo, conditioner, and treatment products. The entire John Frieda hair care line is available at Target where you’ll find them on an endcap display through March 5. If you buy 3 products now through, you’ll even get a $5 Target gift card!
For more hair inspiration, be sure to check out the John Frieda website. I hope you’ll give the pull-through side braid hairstyle a try and let me know how it goes!
What do you think of my pull through side braid tutorial? How did it turn out for you?

P.S. In case you missed it:
- Instagram Roundup – Some of my favorite looks that I shared on Instagram!


Leave a Reply