
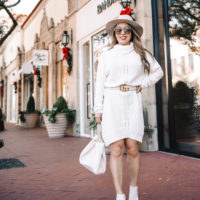
 Jacket: BlankNYC ‘Morning Suede’ Moto (comes in 3 colors!)
Top: Forever 21 Floral Surplice (old, similar, love this one)
Bottom: Gap Skinny Ankle Jeans – comes in petite sizing!
Shoes: Michael Kors ‘Josephine’ (more colors)
Bag: Prada ‘Cuir’ Medium via Trendlee – use CUTENLITTLE for 5% off (similar – under $300)
Earrings: Kendra Scott ‘Addie’
Sunglasses: Karen Walker ‘Super Duper’
Necklace: Samantha Faye ‘Arrow’
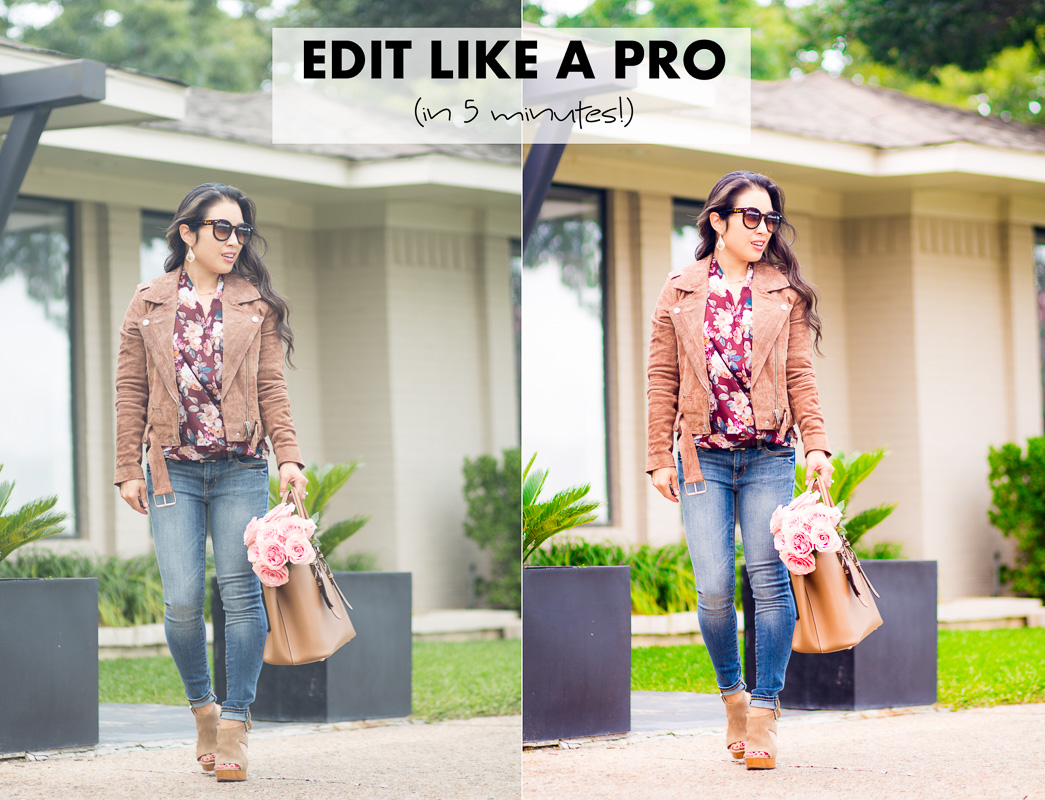
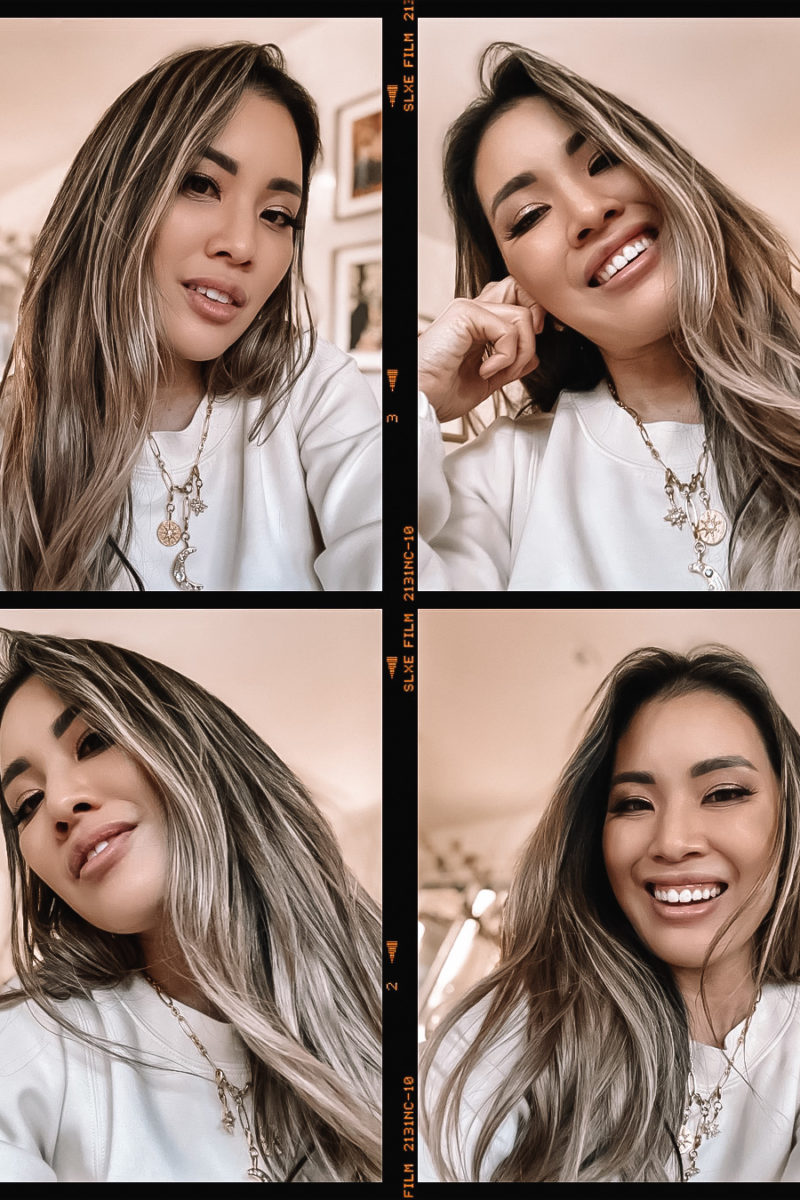
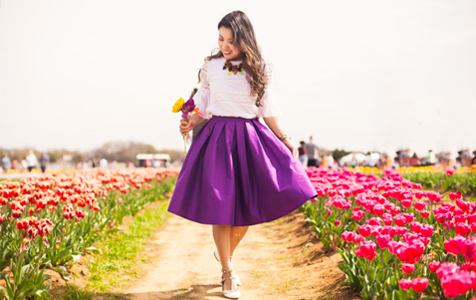
edited with Dreamy Presets – Barcelona
using Adobe Lightroom
Creating visually appealing content is one of the most important aspects of blogging and for me, editing pictures used to be the most time-consuming aspect of the work. While I receive lots of questions regarding my blog self-photography, what many people don’t realize is that 80% of the magic happens thanks to good editing! Just like an Instagram photo is brought to life with the right filters, so are blog pictures with the right post-processing. Over the years, I’ve tweaked at the editing process but had yet to find a good consistent solution that I could share with you. Thankfully, in the past couple of months I finally nailed down a system that makes editing photos super simple and quick! I had shared a quick before/after picture previously and received so many questions on it via email, that I figured a detailed tutorial was in need!
Step 0: Editing Photos With the Right Software
Having the right tools make all the difference when it comes to editing photos and it’s an investment that will definitely pay off in the long run. While I started off buying and teaching myself how to use Photoshop in the beginning, it admittedly has quite the learning curve and can be quite intimidating. I switched over to using Lightroom about 3 years ago and can’t recommend it enough! It’s the go-to utility for amateur to professional photographers and it’s become my one-stop solution for photo editing. Start off with a free trial and give yourself time to learn the software. Besides having a quality camera, having quality software is the next best purchase you can make for your blog!
Step 1: Import and Filter Pictures 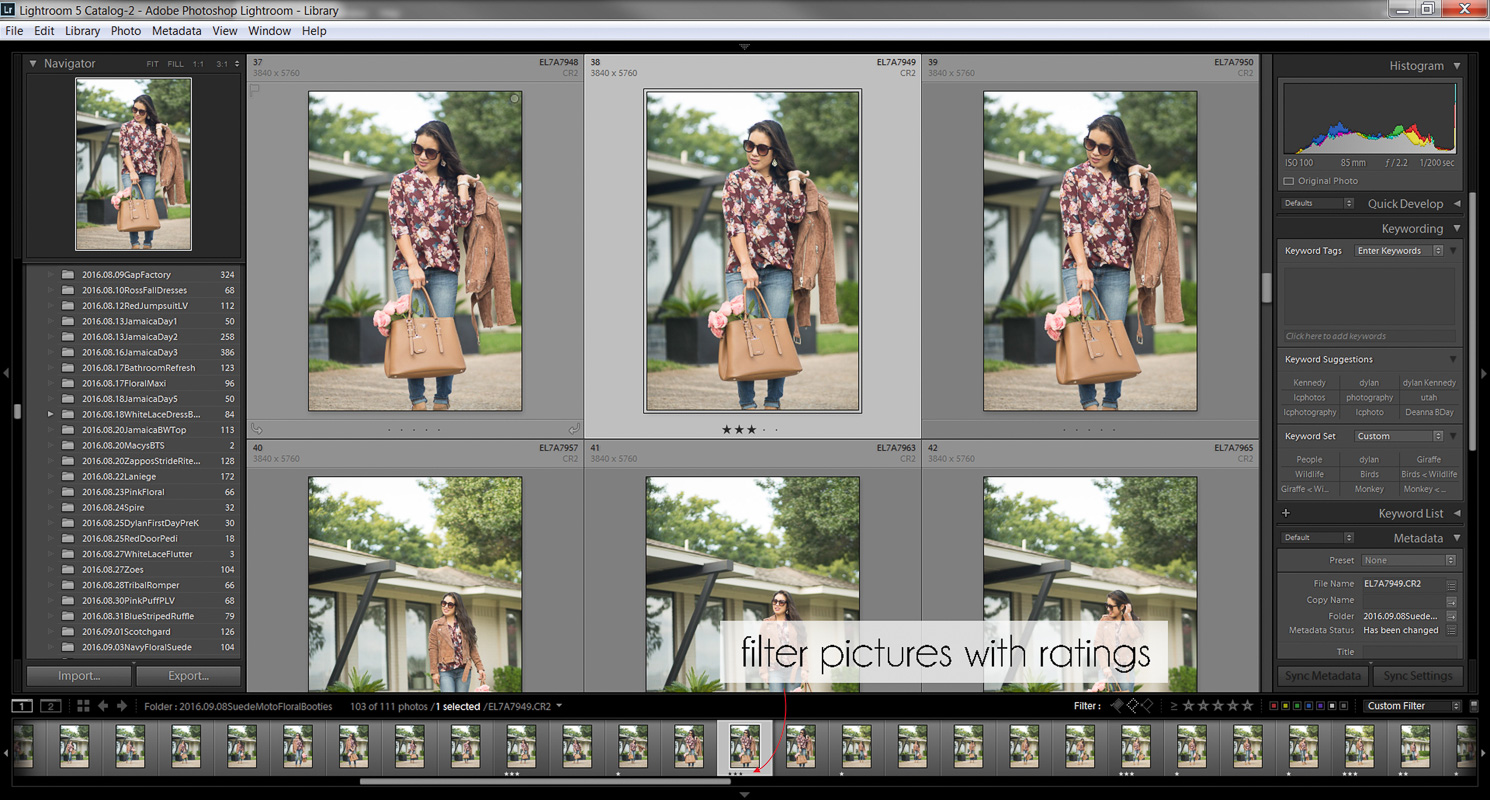
For each outfit, I take about 70-100 pictures depending on how the shoot is going. Because I take my own pictures with a tripod, there’s some built-in trial and error while I figure out settings and adjust how / where I stand to ensure proper focus (I could write a whole post on this topic entirely! Let me know if you’re interested!). To make the filtering process as quick as possible once my photos are imported, I rate them in Lightroom. It’s as simple as pressing a number when a photo is selected and you’ll notice a star rating show up underneath each picture. I’ll continue filtering down my pictures with increasing ratings until I get down to 6-8 pictures that I feel really tell the story of my outfit.
Step 2: Apply Dreamy Presets
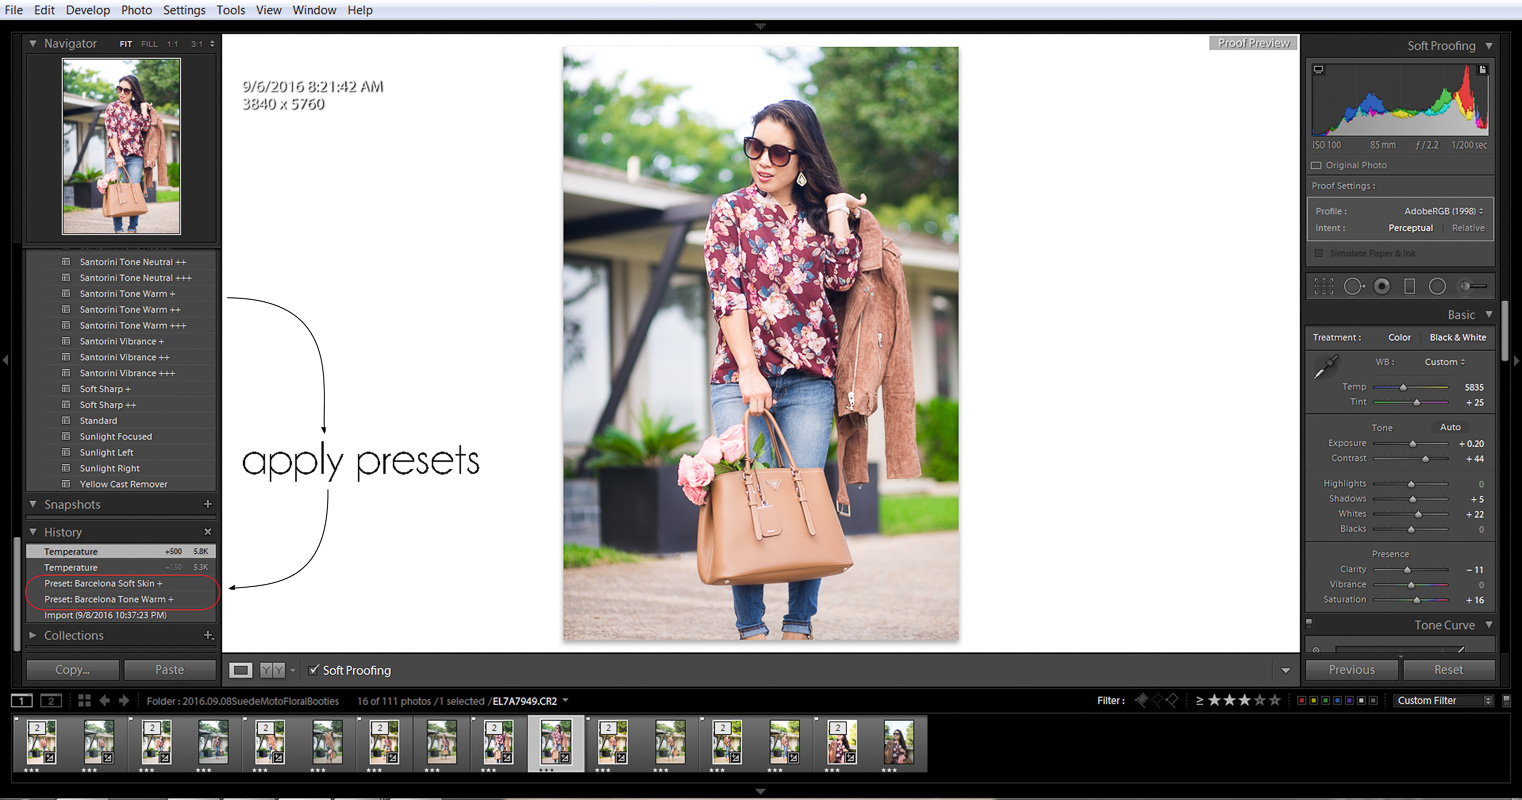
Presets are where the magic happens. You can think of them pretty much like Instagram filters and they really help set the mood of the image as well as improve lighting and contrast. You guys may know fellow petite-fashion blogger Alina from Style By Alina and over the past year she has released several Lightroom presets that she personally developed for blog and fashion photography. Her business is called Dreamy Presets, and it’s a treasure trove for bloggers especially! I purchased her first release of the Santorini preset and most recently also started using her Barcelona latest release. I’m not exaggerating when I say that these presets have saved my life! I seriously rely completely on the her presets now and can almost always finish editing each picture in under 5 minutes (whereas it would previously take me 15-20 minutes in Photoshop!). There’s a one-time installation of the presets into Lightroom and now when I need to edit pictures, I just switch Lightroom over to developer mode (press ‘D’ for developer view and ‘G’ for the gallery view), click on the preset I want, and voila!
My favorite preset is definitely the Barcelona as it works wonders in brightening up my images without overexposing them and adds that ethereal dreamy feel to them that I love. I don’t always have the best lighting whenever I’m taking pictures but having these presets makes me feel like I can get away with it! With the Barcelona preset collection, I use the Barcelona Warm+ preset which does the heavy-duty work of making my pictures look well exposed with the right contrast and saturation that really makes the colors pop. I follow it up with the Barcelona Soft Skin+ preset which just takes some of the harsh edges out and gives my skin a more youthful glow without it looking fake. I may then do a few more tweaks with the temperature setting depending on if I want to add more yellow tones to give it warmth or decrease the saturation if I feel like it’s too intense.
Step 3: Copy Settings
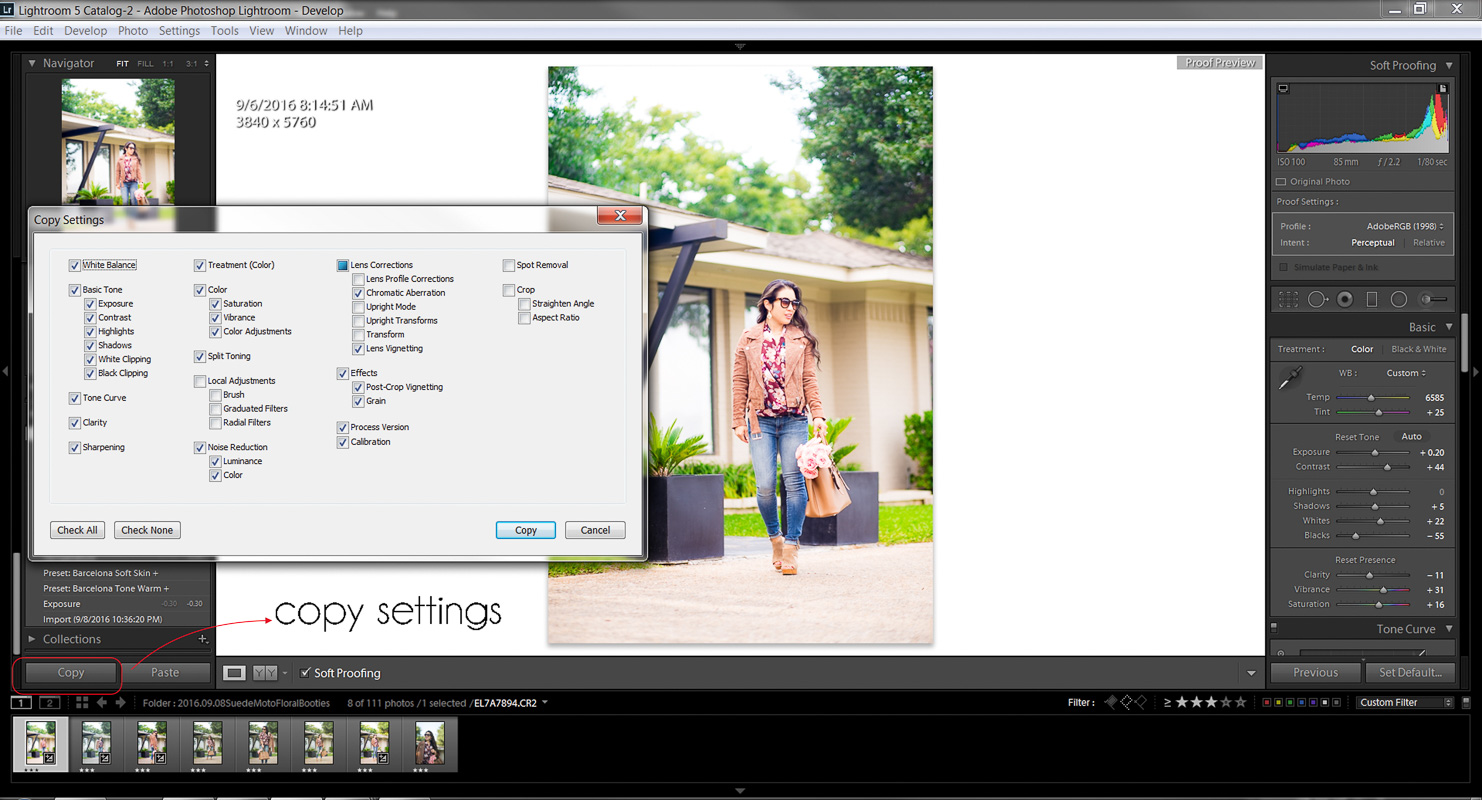
After figuring out the preset settings on the first image, I then copy the settings so that I can easily apply it to the rest of my pictures. I’ll admit I only discovered this feature about 6 months ago and it has again saved me so much time as I don’t need to go through the step-by-step post processing anymore with every single picture!
Step 4: Paste Settings
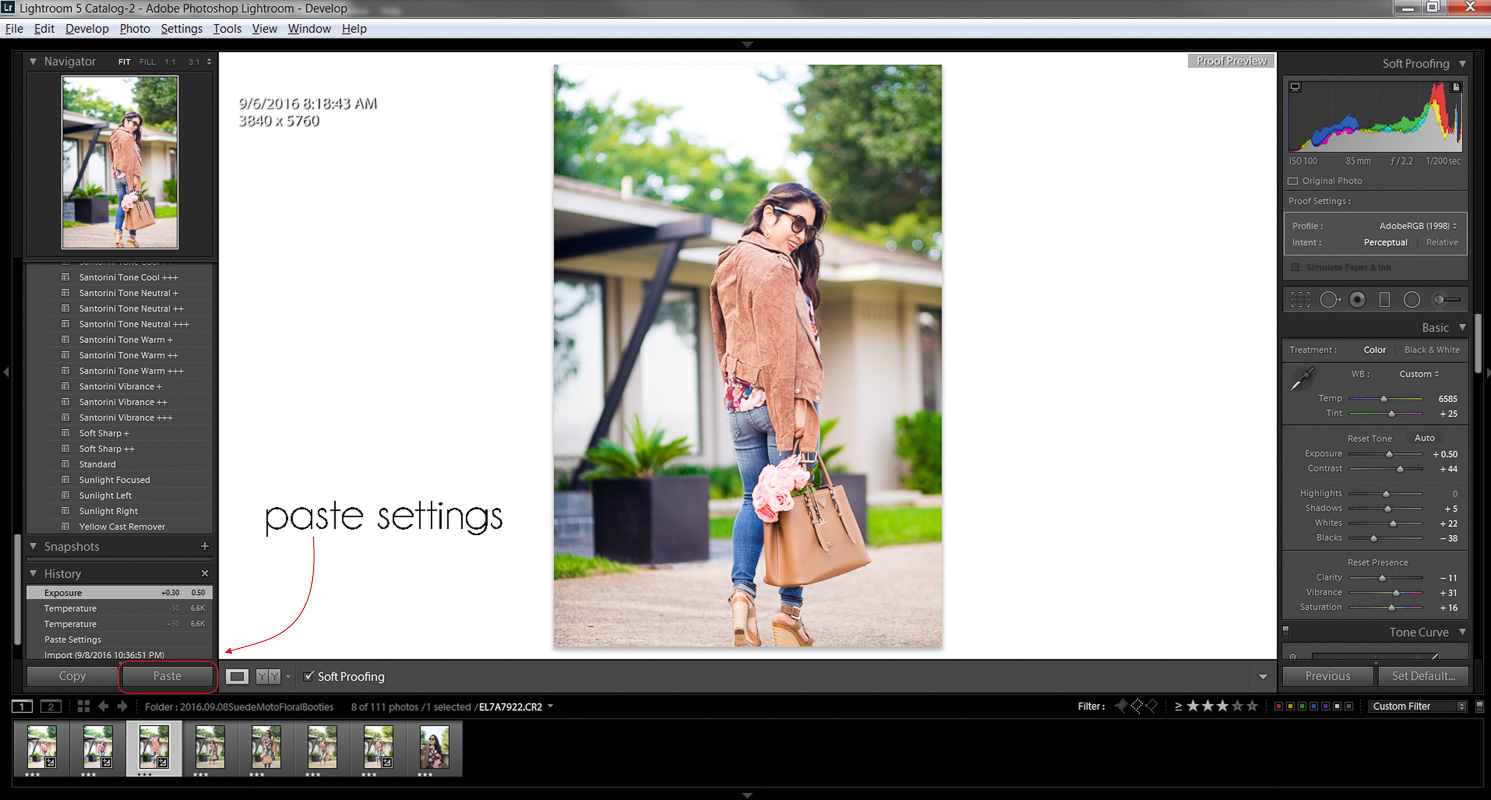
Just go through each picture and hit the Paste button to apply the presets! I sometimes may make a few more tweaks at this point but in many cases it’s good enough as-is!
Step 5: Crop Separately for Blog and Intagram
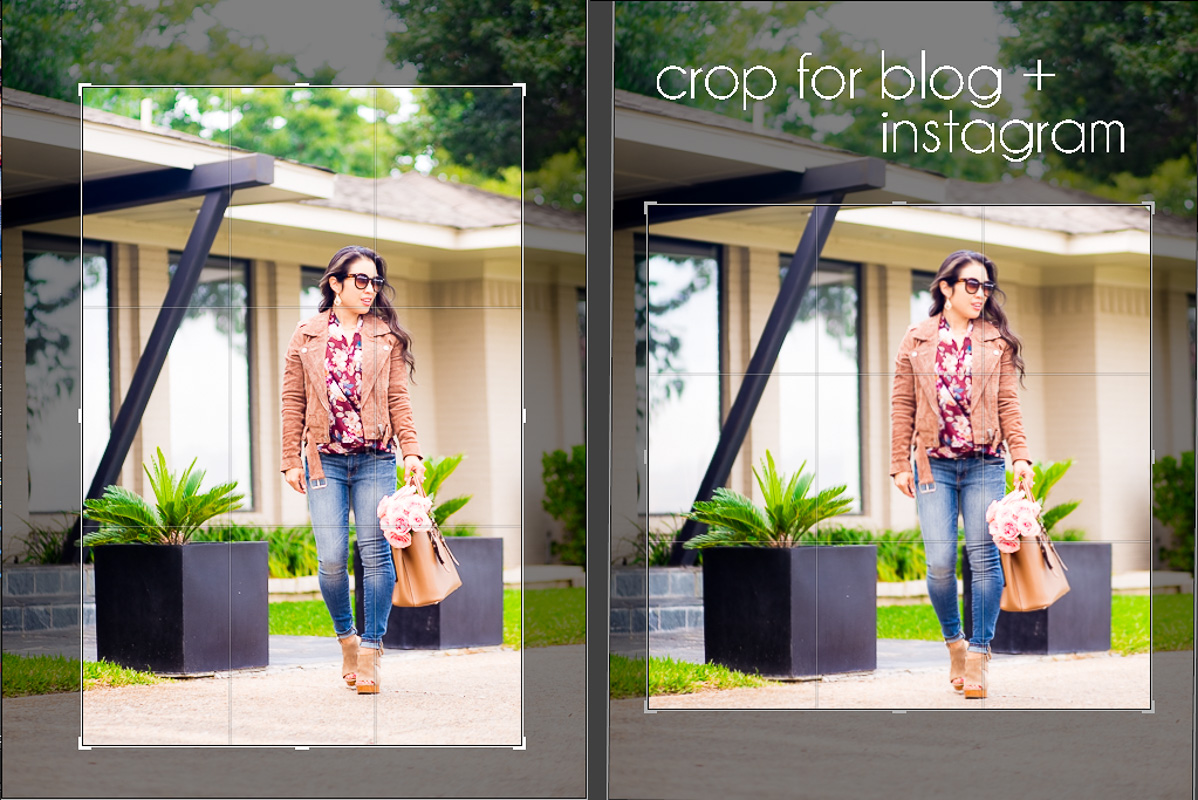
I crop differently for the blog than I do for Instagram and it’s made a big difference for me when I have pictures that are already in square format ready for my Instagram. While Instagram has updated to support portrait and landscape layouts now, I will still say that pictures in square format for me typically do better. Plus, it just creates a better overall look whenever someone is looking at your Instagram feed. Since you’ve done all the editing work already, take the quick 30-seconds to create a separate crop just for your Instagram account! In Lightroom, switch to developer mode if you haven’t already (press ‘D’), right-click on each picture, and select Create Virtual Copy. You can then export your pictures once you’re finished and you’re now ready to post on your blog and Instagram!
Be sure to check out this tutorial from Dreamy Presets for more tips!
I hope you found this tutorial helpful and give it a try! Feel free to comment or email me with any questions!
Shop This Post:


Awesome post, Kileen! I just recently started using the Lightroom app on my phone to edit most of my photos, and I couldn’t agree more about loving it. 🙂 I’d love to see a post about how you pose/focus using your tripod!
oh I need to look into the Lightroom app on my phone! and thanks for letting me know that you’d like the tripod photography post!
xx,
kileen
Thank you so much for sharing this information Kileen. I use lightroom too and I struggle what presets to use for branding. Totally appreciate this.
http://www.agladdiary.com
Love this article! I take some of my photos of myself for my blog with a tripod and also have started using Lightroom, so I love reading about how others edit their photos. It’s super helpful! And put me on the list of people that would love an article on how to focus the camera on yourself while taking photos with a tripod! I desperately need that after so many failed photoshoots!
-Kristin
countdowntofridayblog.com
Awesome post, Kileen! I can’t believe you take your photos with a tripod. I do, too! I kind of thought I was the only one because it seems like so many bloggers work with professional photographers or loved ones! I also take about 70 – 100 pictures per shoot and I use lightroom. I didn’t know you could use filter presets! I’ll have to check that out.
Christie
The Closet by Christie
yes, these presets have literally saved my blog as I just don’t have that much time to spend editing now that I’m busy with 2 kids and a full-time job! hope this helps!
xx,
kileen
One of the big reasons I never used instagram was because my pictures never looked right and were cut off. Logically, I should have thought to crop them separately! It seems like a lot of work still, but maybe I’ll get there…
Will check out these presets, I’ve heard a lot about them. I usually just edit myself but it does become a lot of work!
Easy Petite Looks Blog
yeah, the time spent editing really adds up. the separate cropping isn’t that time consuming and i feel like it makes a big difference for Instagram! thanks so much for stopping by!
xx,
kileen
This is a great tutorial. I’m working on improving my photos. Lightroom seems much easier to use than Photoshop.
I’d love to see more photography posts.
http://tresfly.blogspot.com/
Great post! As a user of Lightroom and Photoshop for over 10 years I do a very similar thing but I use both Lightroom and Photoshop. I use the sync settings to make sure all my images in light room look the same and I do some other tweaking of my images in Photoshop. I think beautiful imagery is so extremely important in fashion photography and it makes all the difference in the world.
This is such a great blog post. Th ask for sharing!
This makes lightroom so much less intimidating! Thank you!
Dead written subject material , appreciate it for information .
copy van cleef flower earrings http://www.topbijoux.cn/en/
love it ! amazing post thanks for this beautiful presets!!! xx http://www.thelittleeblondie.com